
A Complete Grower's Guide to Curing Weed
Growing cannabis is a relatively easy pursuit but drying and curing are an important part of the process that many first-time cultivators get wrong. Ruining a yield at this point could be devastating, and for some growers, there is a lot riding on a bountiful harvest. Whether your motivation is a good payout, or simply, access to a high-quality product at an affordable rate, you want to preserve your marijuana buds with the utmost care, and that’s when it helps to know as much as possible about curing weed.
What is curing weed?
Curing weed is a method of preserving the buds that prepares it for both long term storage and consumption. It starts to happen immediately after drying, which removes a substantial amount of moisture from the plant materials so that they can be properly cured.
Why it's important
Curing weed is often viewed as an art, and that is because it can impact so many different aspects of the buds. Everything from the smell to taste, cannabinoid content, and harshness can be significantly altered during this critical stage of processing, and without curing, you wouldn’t have the pleasure of enjoying some of the tastiest, most potent, and best quality cannabis. It also works to strengthen the elements within, helping your big, fat marijuana buds to maintain their shape and form throughout months of storage.
What does curing weed do?
Drying removes the excess moisture from the buds, and curing is often used to do some of that, but for the most part, curing serves a much bigger purpose. It helps to release small, calculated amounts of moisture and gives the components like the cannabinoids, resins and terpenes, a chance to fully develop. It also eliminates the fresh, green taste that can make cannabis harsher and less enjoyable.
How long to dry weed before curing
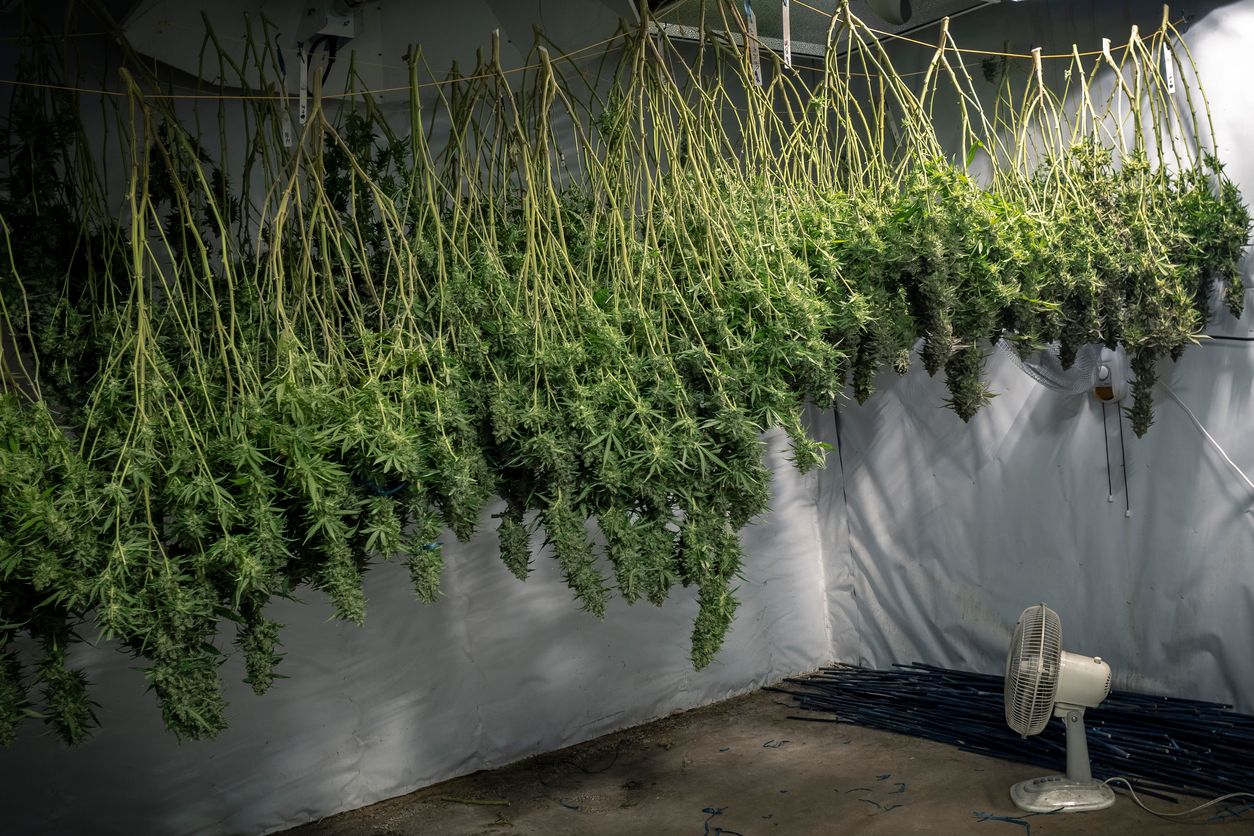
If you want to get the most out of curing your cannabis buds, then you are going to need to dry them partway first using one of several techniques to expose them to air. This process can take varying lengths of time depending on the method chosen for drying, but if you toss your buds into a paper bag for 6 or 7 days, it will be ready for curing. Hanging and drying racks can help to speed up drying, but they will still fall within the 5 to 7 days range on average.
What chemically happens curing weed?
You have probably heard of the importance of decarboxylation when it comes to edibles, but in case you haven't, the process of applying heat is essential to activate the cannabinoids like THCA into its counterpart THC, which provides the euphoric high. Now, no matter what you do, the majority of dry marijuana buds wouldn’t get you stoned if you ate them, at least not without eating a whole lot, but converting more of the THCA into THC before it gets packed into your pipe will make it more potent.
Decarboxylation normally occurs in an oven of any sorts, but it also happens naturally during the curing process. Drying only removes water from your buds but curing weed actually helps them to transform on a chemical level, into higher quality and a more potent product that will provide more intense effects, and that’s not all.
It also degrades chlorophyll which dramatically improves the taste and reduces harshness, and it preserves the buds in a way that reduces any risk of mold growth. Ultimately curing weed will result in a product that’s worth more and much more effective for both medical patients and recreational consumers.
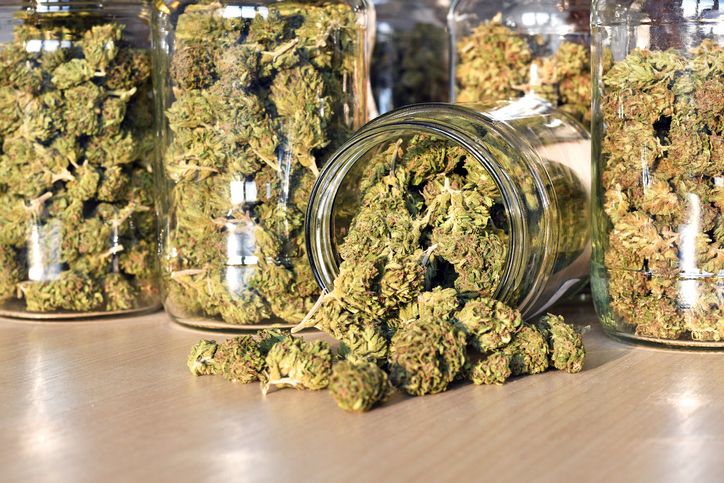
What size jars for curing weed
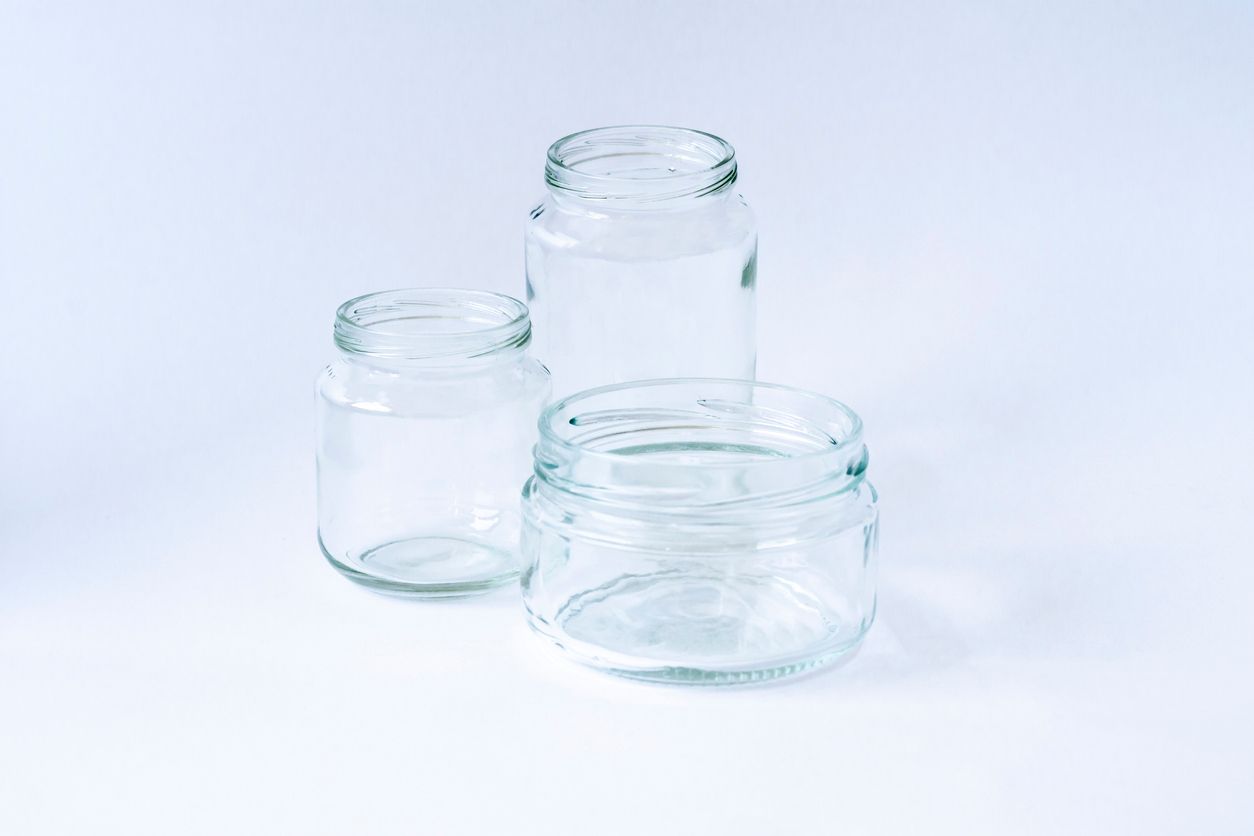
Technically you can use almost any size of glass mason jar, but since we’re talking about harvesting a crop, we’re going to assume that you have more than one plant, which means that more space is going to be needed. If you are curing weed from two or more plants, then a 32 oz glass mason jar is the best tool for the job.
Tools and equipment that you'll need
Precisely what you need to have on hand for this to work will depend on who you ask, as many growers have success with old school methods that don’t rely on the addition of technology, however, if you want to guarantee success every single time, then you might want to invest in a couple of things to help like:
- Somewhere to dry your buds in preparation for curing
- Mason jars
- Moisture packs
- Hygrometer
- Scissors
Steps for curing weed
It is important to recognize that the lines between drying and curing are often blurred, but curing weed begins from the very first moment that you pluck your marijuana buds from a thriving plant. So, we are going to start there, that way you can provide the ideal environmental conditions for your cannabis right from square one, to prepare it for curing in jars.
-
Harvest your marijuana plant any way that you’d like. Trim off the buds and largest colas, cut branches, or pull the whole plant so that it can be hanged.
-
Before you start drying the buds, it’s important that you take the time now to remove the large fan leaves and any protruding sugar leaves. This will give you uniform looking buds that will dry more evenly, and you can always use the trim later on to make concentrates, so don’t feel like it’s a waste. Removing these bits will speed up the process and render a more potent product.
-
Now hang the branches, layer the buds, toss them in a paper bag, or dry them however else you see fit. Just make sure to maintain these ideal conditions in the space that your buds are drying in, as too much heat or humidity could melt away or damage the cannabinoids, terpenes, and raw plant materials.
Moisture: 50% to 60%

Heat: 21°C (within 2°- 3°)
-
Leave your marijuana buds to dry for anywhere from 3 to 7 days, or until the stem breaks off clean with a crunch rather than bending. Make sure to agitate the buds if they are drying in an enclosed space to avoid wet spots and possible mold.
-
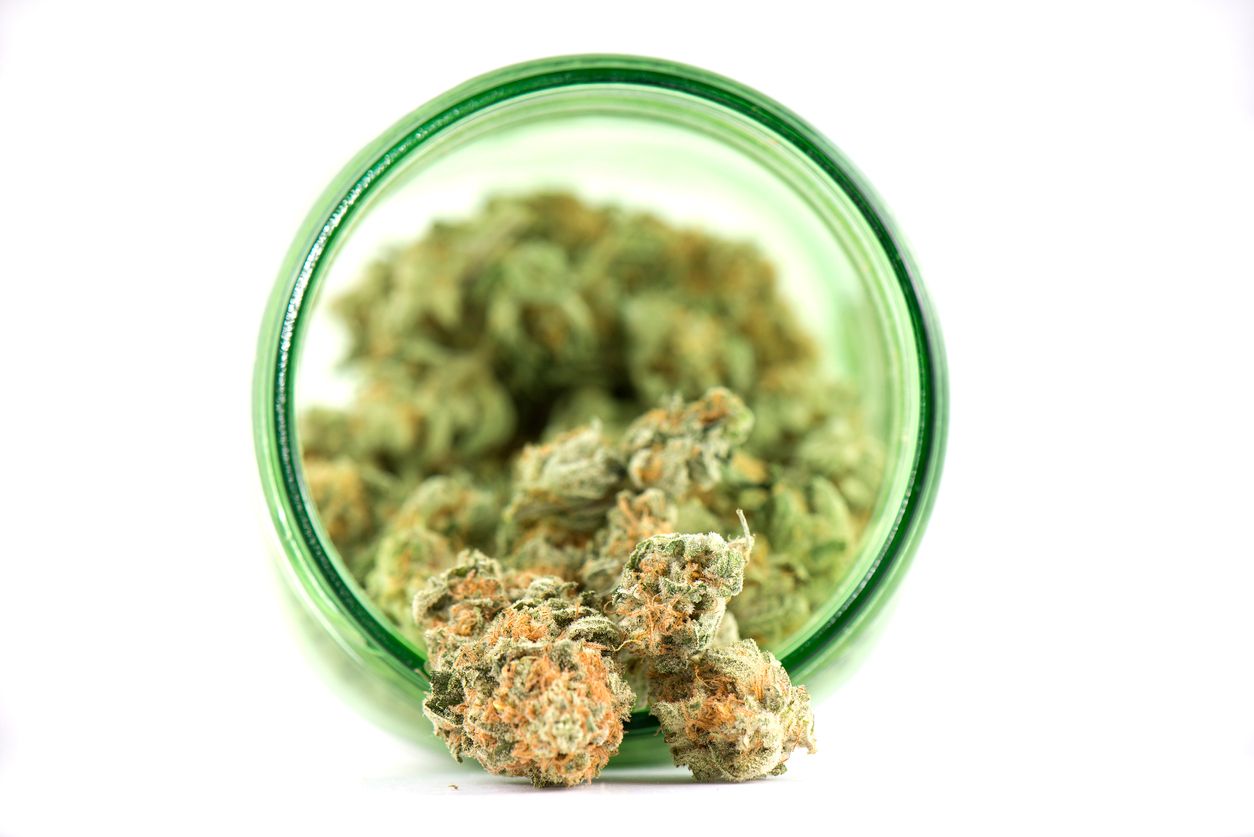
One the weed is dry, if you haven't already, you will need to snip off the buds, so that the majority of the stem is removed. Once the buds and stems are separated, the colas are ready to be added to mason jars for curing. Fill each mason jar with one ounce or less, which should fill them approximately ¾ of the way, and finish it off with a hygrometer which will aid in keeping track of moisture content.
-
During the first few weeks of curing, you will need to check on the jars at least once a day, looking for potential issues like too much moisture or mold. If the marijuana buds begin to smell like ammonia or if the outside of the buds of the glass walls feels wet to the touch, that’s a pretty good indicator of too much moisture, which means that you might have to dry them a bit more before proceeding.
-
Once a day you are going to need to check everything over visually and leave the jars open for approximately 1 hour, but you will also need to take consistent moisture readings so that you know what else to do while your weed cures.
-
70% and above is a dangerous moisture level to maintain as it increases the risk of mold. If you get a reading like this, then you will need to remove the buds from the jars and air everything out for 12-23 hours per day instead of the recommended 1 hour.
-
60% to 70% means that your buds are still pretty moist, and the best remedy is removing the jar lid for between 2-4 hours per day until the moisture levels drop.
-
60%-65% is the ideal moisture range for curing weed, and once you’ve reached that range and pass the 2-week mark, you will no longer have to open the jars for air.
-
55% or less moisture will result in brittle buds that will damage easily, and it isn’t ideal for curing. This is where the moisture packs come in handy, as you can just toss one in, seal up the jars, and it will do the job of rehydrating for you.
- Some people like to cure their cannabis buds for up to 6 months, but for most, that is an unreasonable amount of time to wait. A minimum of 6-10 weeks for curing weed is most recommended.
How do you know when your weed is done curing?
The best way to tell if your weed is done curing is by both moisture level and the time that has passed, with the final test being a good run through the grinder and rolling some into a joint for testing. Every grower will face different wait times depending on their environment and humidity levels, so there is no one size fits all recommendation on length of curing weed. What we do know is that the ideal range can fall anywhere between 8 weeks and 6 months long.
Common mistakes
There are so many ways that this could all go wrong, but the three most commonly made mistakes with curing weed are as follows:
-
Buds that aren’t dry enough, to begin with, leading to extended wait times or mold and bacteria growth.
-
Missing burping sessions which will result in high moisture levels that are less than ideal for curing weed.
-
Too little moisture, as you need just the right amount to cure cannabis properly.
Why my weed isn't curing right
If you are struggling with marijuana buds that just don’t seem to be curing right, then you probably aren't sustaining the minimum requirements for moisture, humidity, and heat, so be sure to go over those, to figure out where you went wrong. On a rare occasion, the buds themselves are contaminated which sets you up for failure, making proper curing nearly impossible.
What to do after curing weed
Once your cannabis has cured completely, there really isn’t much else to do other than sitting back, relax, and enjoy your spoils. Mason jars, when stationary, can work well as a long-term storage option, or you can transfer the cured buds into a more suitable container. Either way, the hard work is done, and there is no longer any need to do anything beyond stashing your yield safely away.

